You can create a project with student projects added as web objects.
On your home page, click the Students button.
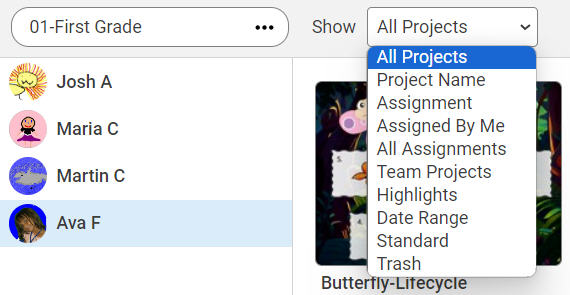


Use the Show pull-down menu to find the projects that you want to add.
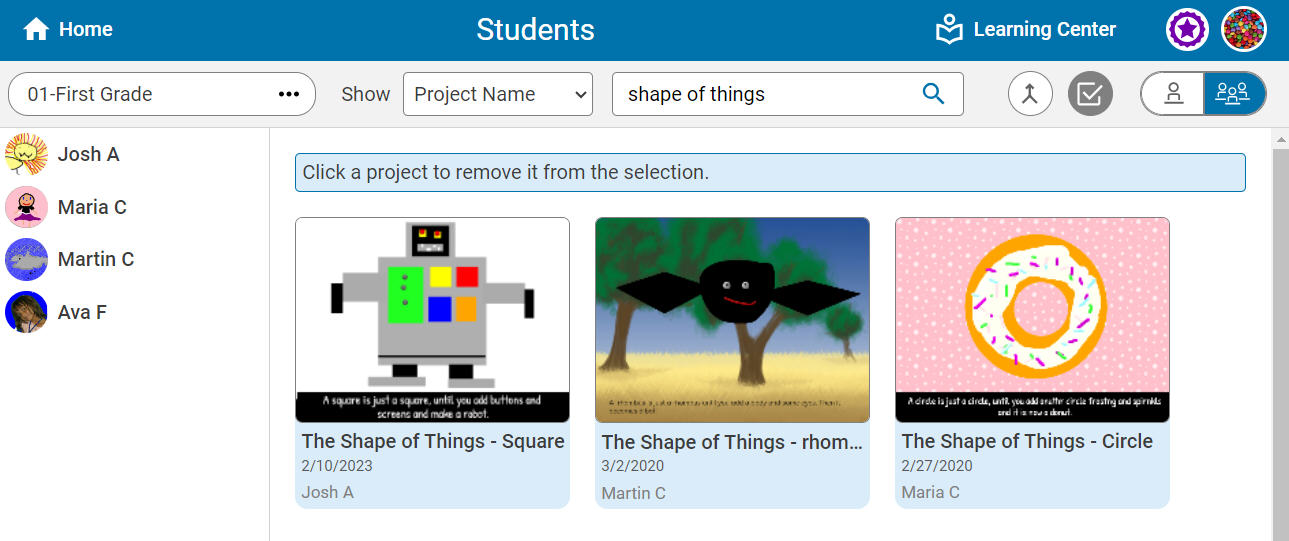
Click the Class View button to view the projects of the entire class at once.
Click the Select Project button.
Projects will highlight in blue when selected.
Click a project to add or remove it from the selection.
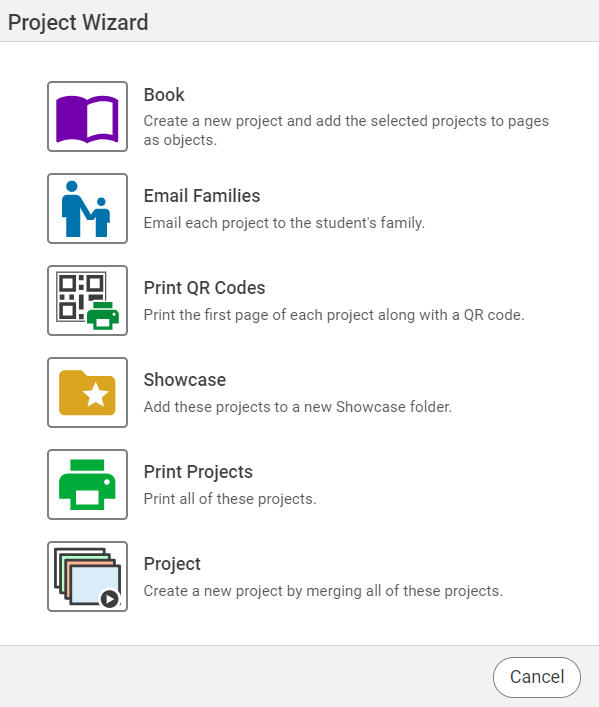
When finished, select the Project Wizard button.
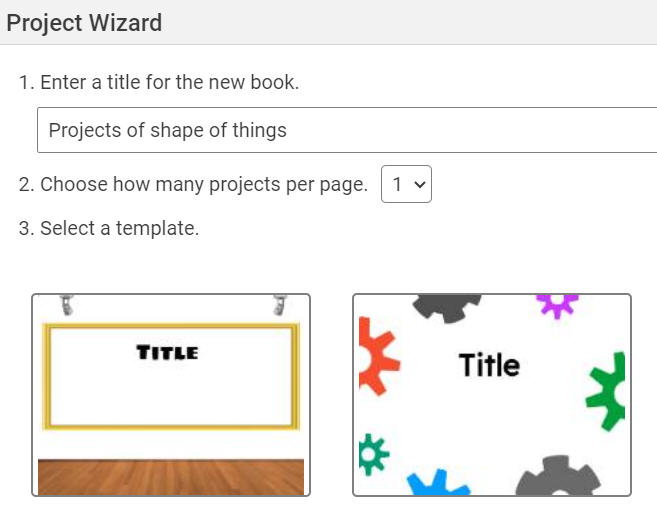
You will see the Project Wizard dialog. Choose Book.
Enter a title, choose how many projects per page, and select a template.
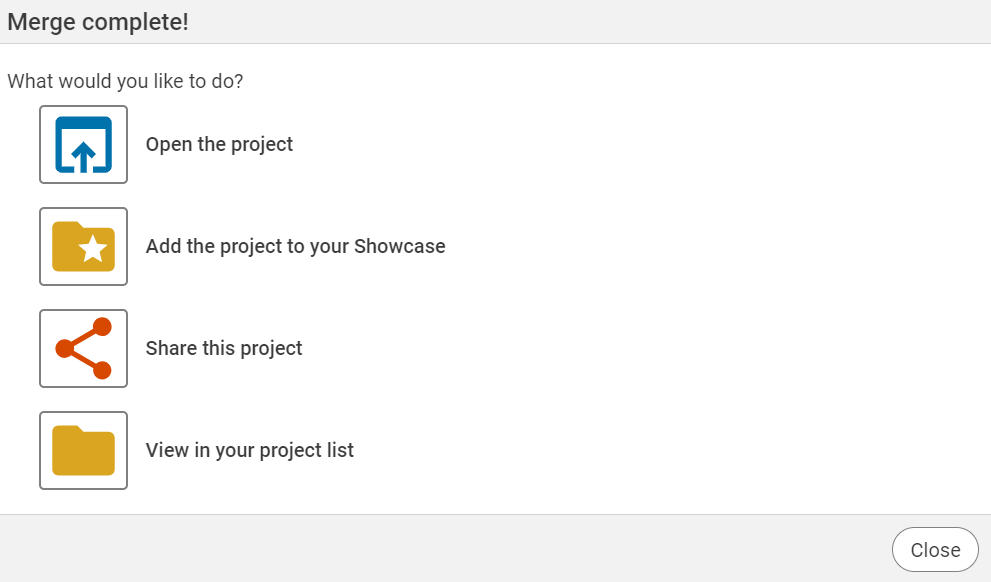
You will see a dialog letting you know that the merge was complete.
From here, you can open the project, add the project to your Showcase, share the project, and view the project in your project list.